 |
| Dry pea seeds. |
But, you see, I have an itch. An itch to work in the earth and to make food grow! An itch for sun and warmer days. I itch for the green that you can only see in the first shoots of spring after the cold, grey winter, in the rays of the mornings warming sun.
I wanted to have some lovely fresh greens to nourish my family. I admit, it was out of fear, too. We are dependant on the grocery store. If I want fruits and veggies, I will need to pay what they tell me to pay. Or...we can become less dependent. What if I took back some of that power and freed myself, a bit, from the fear of not being able to nourish my family...of not having enough. I decided that we needed to DO something. So do, we did!
 |
| Pea seeds soaking. |
So, for $3, the use of a little potting soil I had laying around and the plastic clam shell that salad greens come in at the grocery store, I was able to grow some fantastic, tasty and nutritious pea shoots!
They are so very easy to grow and a great project to do with kids. Start with your seeds a few days before you want to plant. Put about 1/4 cup of the seeds into a glass and add spring water to cover. Swirl the clean the seeds and remove any half seeds or broken ones...they will not grow. Pour off the water and add more clean spring water to cover the seeds plus two inches. Let them soak for 6-12 hours, changing the water once. The seeds will have absorbed water and be much larger now. Pour off the water and let the glass, with the seeds inside, lay on it's side for 12 hours. Then you want to rinse the seeds with spring water and lay the glass, with the seeds, on it's side again, for 12 more hours. Keep rinsing and leaving it lay until you see the seeds begin to sprout.
 |
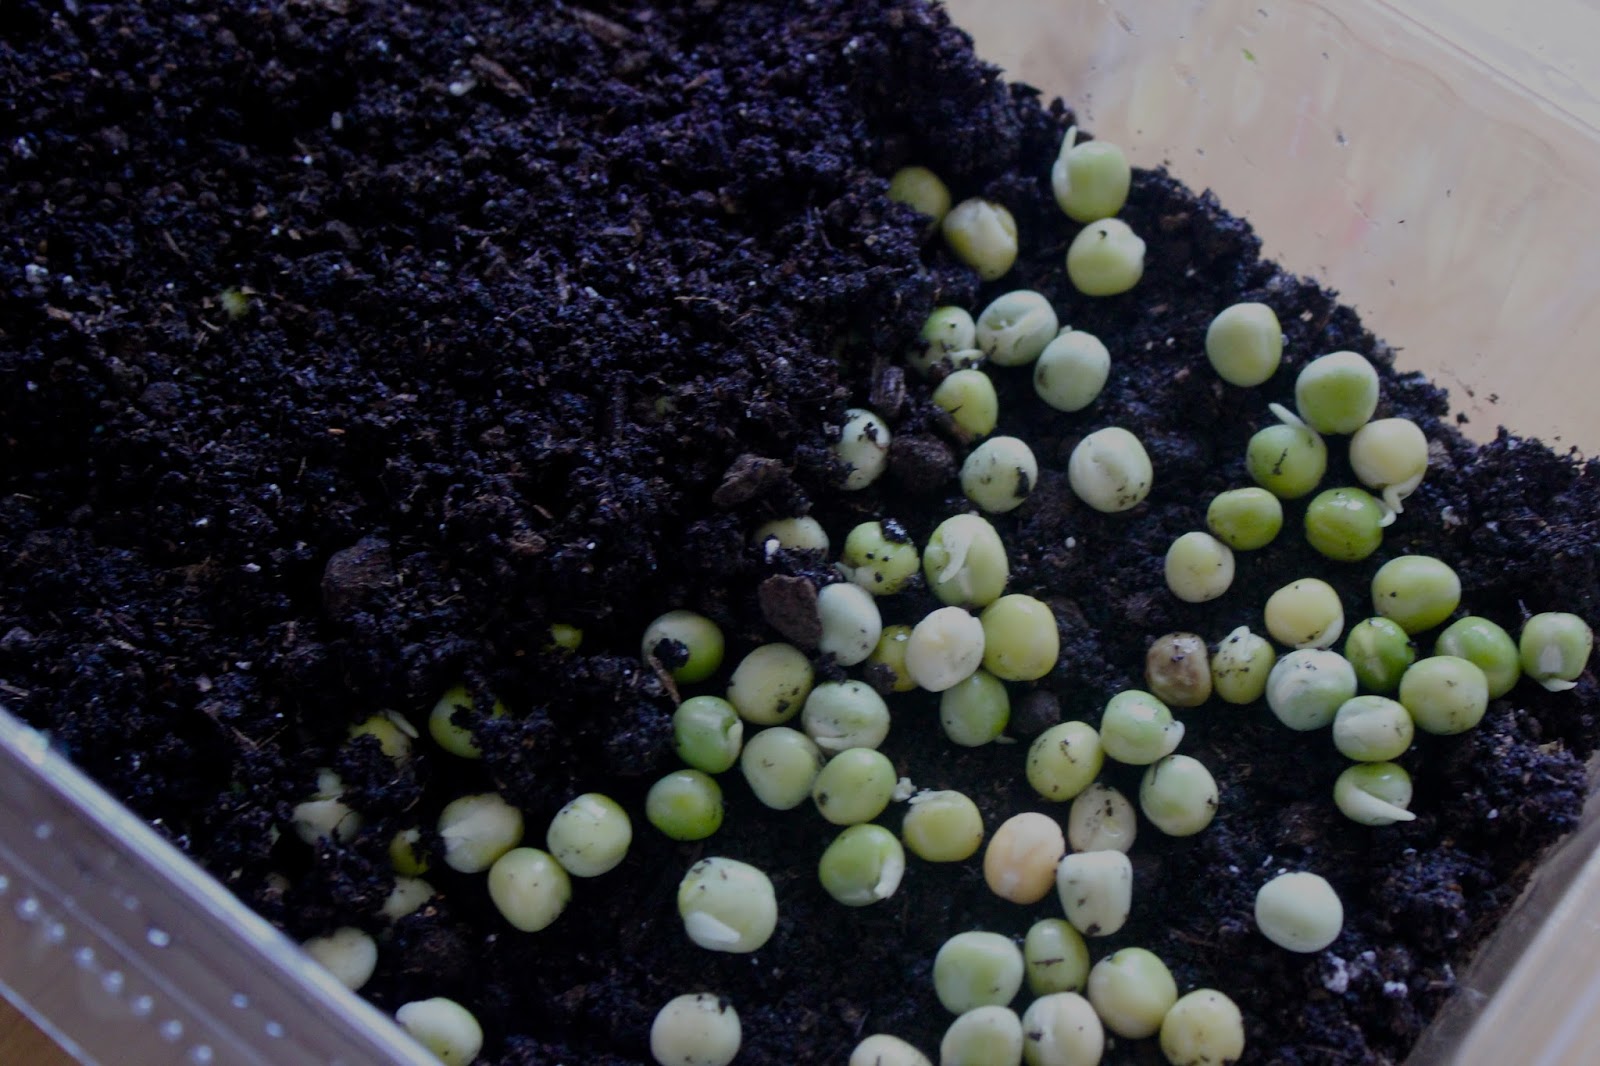
| Soaked peas, drained and sprouting. |
Moisten the soil. I had to mix in a container large enough that I wouldn't be flinging the soil everywhere but still small enough that my youngest wouldn't decide to climb in if he found it while I happened to blink. The cat was not allowed to even smell it. She was kept in another room. No cats aloud by potting soil...just NO.
 |
| This is my vermicompost from my wonderful indoor worm bin. |
 You will need to make drainage holes in the plastic clam shell you are using for the pot. Poked holes in the bottom of the clam shell plastic with a knife, carefully, because it is not very sturdy and you will need to support it with your hand whilst trying to jab a knife through. Next, add two inches of the moistened soil/vermicompost to the bottom of your makeshift planter and gently pressed the soil down. Not too much. You want the soil to be easy for the seedling to push roots through. They are not going to need much support because you will be harvesting them when they reach 4-6 inches.
Sprinkle your sprouted seeds on top of the soil. You want them to be planted thick and close together. Remember, these are not going to grow out to full size. They do not need much space. Cover the seeds with more soil. Just cover them...don't bury them. A quarter to half an inch is great.
The fun and messy parts are now done. Clean up your mess and put the planted clam shell on the lid as a drip tray and place everything in a bright window. For me that would be a south facing window. As luck would have it, my worm bin sits under a south facing window and has plenty of space on top for growing lovely sprouts!


If you are anything like me, you could end up with many more pea shoot than you can eat. When I have more than we can eat fresh, I dehydrate and grind them up for future use in smoothies and the such!
These are freakishly delicious. Scratched my itch for the moment.
Hurry up, Spring!

Comments
Post a Comment