Ever since I heard about the Treadmill Desk I have wanted one. I love killing two birds with one stone. I have much that needs to be done in one day, having a way to do more with the same amount of time is precious, not to mention wise use of time. Why I could even do all my blogging from the comfort of my Treadmill. Walking whilst I type! Yes, please.
Looking at Treadmill Desks, I realize that I was never going to buy one. They range between $800 and $2000. Just never was going to happen. So, I started looking at Do-It-Yourself projects and found a simple yet effective DIY Treadmill Desk.
Following these instructions, mostly, I made my own Treadmill Desk in ALMOST no time at all. That is if you aren't counting...
...the drive to the hardware store.
...the stop at the grocery store before the hardware store because somedays your Manifesto just ain't working and you need some frozen pizza to feed the Starving Horde.
...leaving the children in the van in hopes of a quick trip at the store only to have one the the children track you down while you are standing in front of the frozen pizzas to tell you the baby has set off the vehicle alarm and he now needs the keys to stop the alarm from blaring.
...a few moments later an announcement over the intercom system stating your vehicle make, license number and would I please come to customer service.
...paying and loading groceries.
...wondering what is that SMELL in the van!!
...driving to the hardware store.
...bringing two of the Starving Horde in with me in hopes of things going better in the van this time. AKA, no alarm sounding off. I left the keys with them this time.
...trying to find shelving.
...waiting for guy to cut shelving.
...trying to corral the kids playing hide-and-seek around the functioning, display of doors at said hardware store.
...the quite personal conversion I had with the clerk.
...loading children into van.
...tearing van apart looking for lost item that I bought but somehow has disappeared.
...taking children back into hardware store looking for said item.
...finding said item and returning to van only to run into someone whom I haven't seen for forever.
...loading kids again.
...putting van back together.
...the drive back home.
...unloading the van.
...getting everyone back into the house.
...turning oven on.
Is it bed time yet? NO! It's time to build a Treadmill Desk!
These instruction will work for a Treadmill where the balancing handles on either side on the machine are parallel with the floor. You could make it work with angled handles but that kind of math is way beyond me tonight...or ever. (You did just read about my adventure to the hardware store...and that was less than an hour of what an average day in my life, looks like.)
Start by measuring your machines balancing handles. (I don't know what they are called but you know what I mean.) You want the measurement from the outside of one to the outside of the other one. Mine measures 34 inches. Add a couple of inches to each side. My finished desk top length should be 38-40 inches long.
Next measure the depth of your handles. Mine are about 11 inches. I chose to go with 12 inches in depth for my desk. You don't want it to be so deep that it will get in the way of your walking! Unless your putting your PC on there, 12 inches will work just fine.
So, 38-40 inches by 12 inches. Always write down your measurements before hitting the hardware store. Even if you are going to remember them. Write it down! AND take that paper (or notes on your phone, whatever,) with you when you go to the hardware store! I did not do this. I usually never do. I almost always regret it.
My shelf is too short. It's 36 inches. I asked the guy to cut it to 36 inches because I didn't write it down. I can make it work but it would have been better a little bit longer...like 38-40 inches.
When you go to the hardware store, leave the kids at home and bring the list of things you need...including your measurements. Yes...really important.
Next, ask for help. That is why there are people working there. I use to think how awesome I was to be able to find everything I needed at the hardware store. Whatever! I can find it...I just don't want to spend all that time looking. Ask and follow the "guy" to where the "stuff" is. Follow "him," so that when you find what you want, "he" can then show you to the next thing.
After you have everything you need, go pay for it and put it in a bag. Could be your purse or a bag you brought. Does not matter. Just get your small things in a bag! Then you won't need to go looking for it when it has disappeared.
D. I. Y. Treadmill Desk
So...you will need:
- a treadmill, of course.
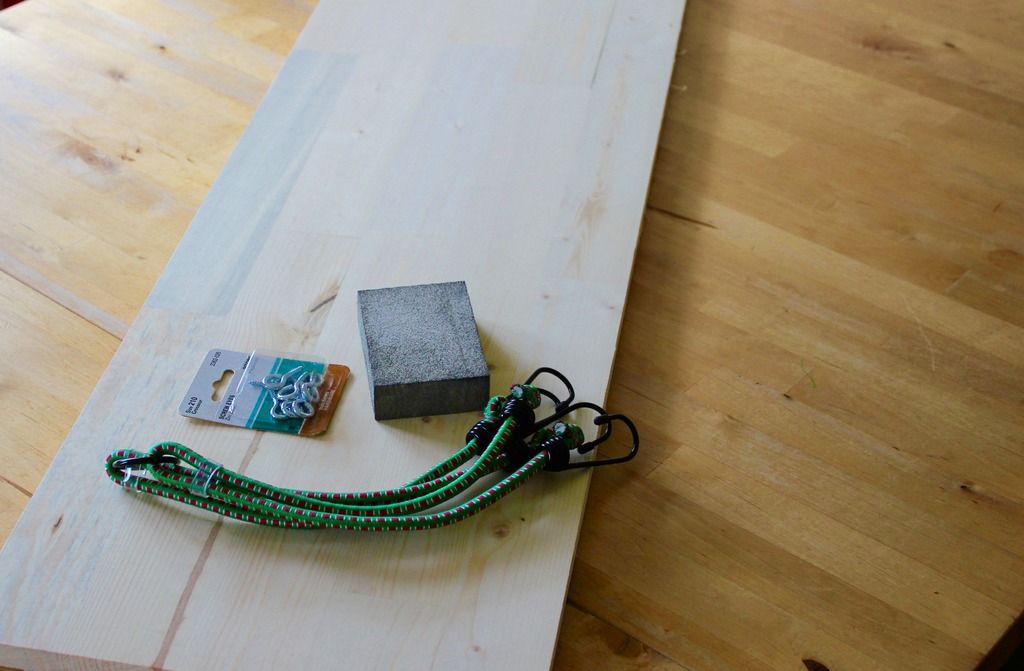
- a wooden shelf. I am using a piece of Laminated Pine. It was 96 inches and I had them cut it into 3 pieces. One at 36 inches and two others at 30 inches each. (I have plans!)
- a wooden shelf. I am using a piece of Laminated Pine. It was 96 inches and I had them cut it into 3 pieces. One at 36 inches and two others at 30 inches each. (I have plans!)
- 4 screw eyes. Yeah, that is what they are called.
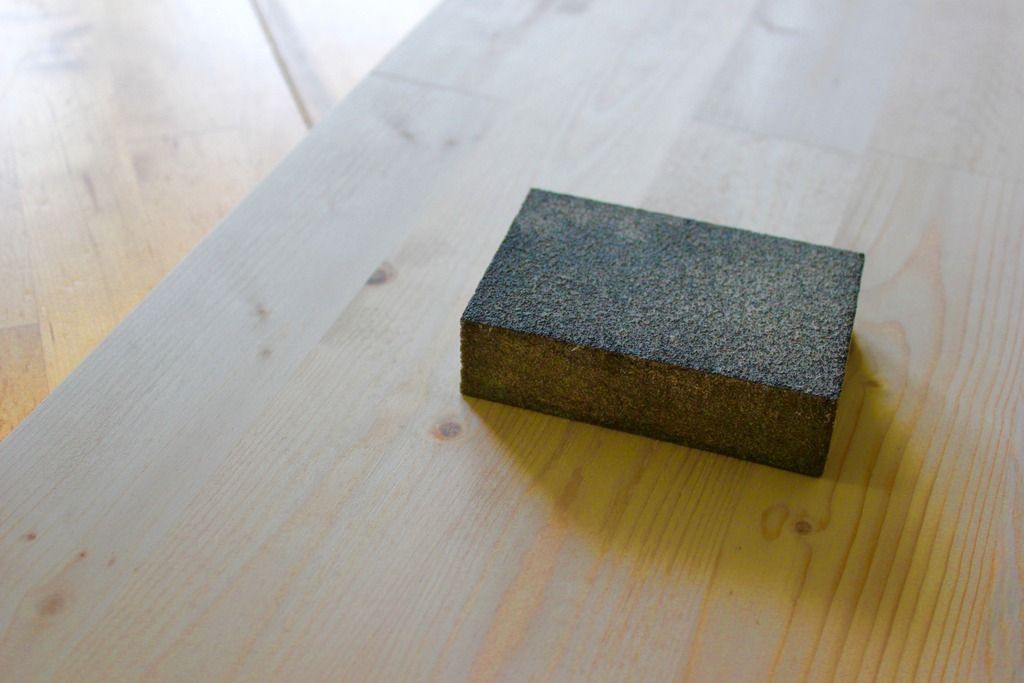
- a sanding block or sand paper.
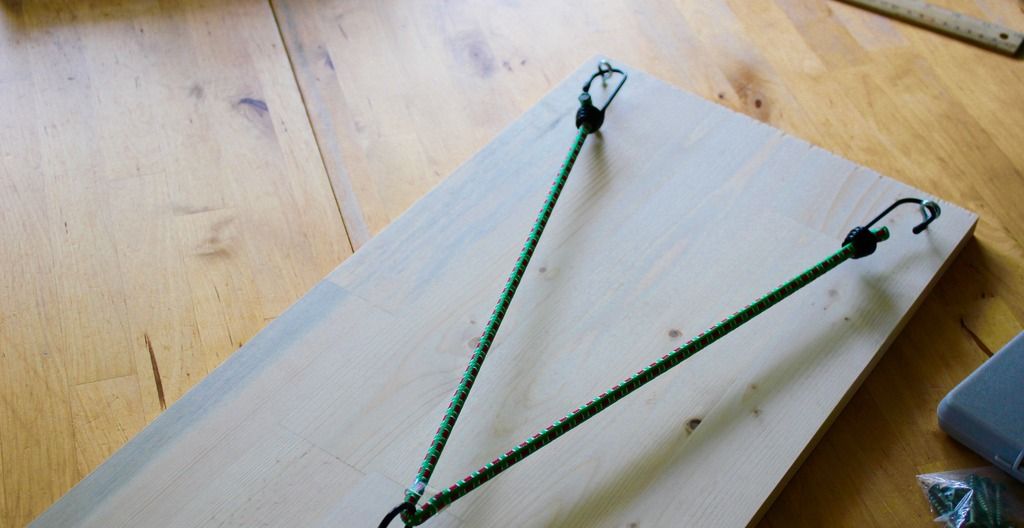
- 2 @ 24 inch bungie cords. I couldn't find separate bungie's but you will see in the pictures what I did buy.
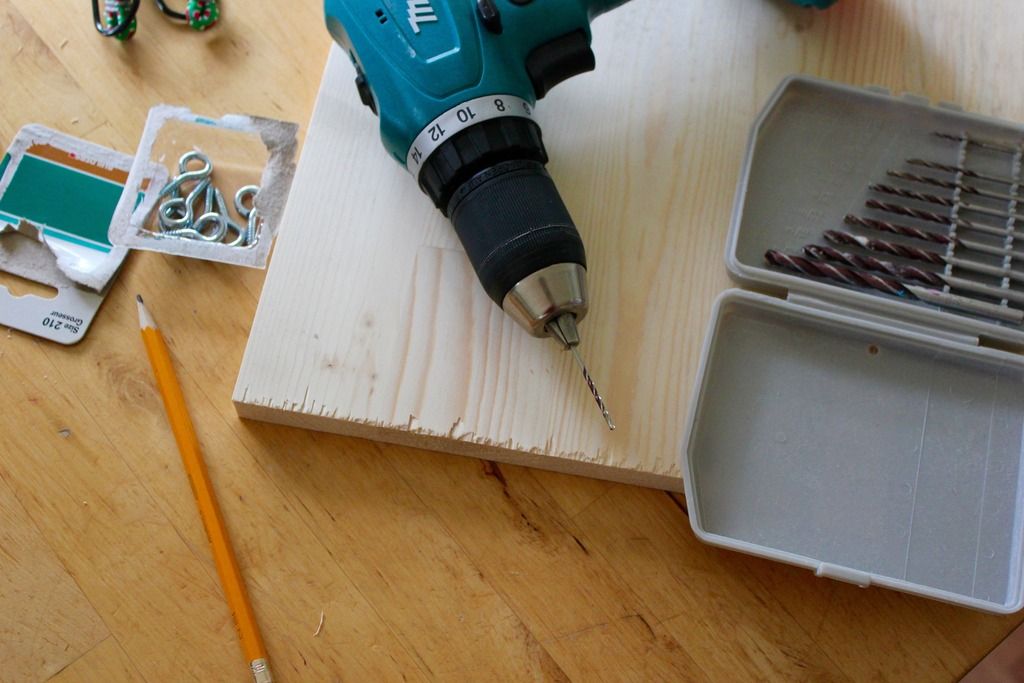
-a drill.
- paint or stain if you wanna.
Sand your shelf to remove all the rough bits off. You don't want to get a sliver while walking/typing/checking your email.
Paint or stain if you are going to.
Find the nicest side of your shelf. That will be the top of your desk. Flip it over and measure one inch down from the top one one inch in from the side. Mark this spot with a pencil. Repeat on the other side, on the top side.
For the bottom end, measure one inch from the side and two inches from the bottom. Make a mark with your pencil and repeat on the other side. You should now have a mark in all four corners.
Pre-drill your marks using a bit that is slightly smaller in diameter than the screw end of your screw eyes. Don't dill too deep. 2/3 of the depth of the screw part of your screw eyes is enough. I used a much smaller bit because I wanted them to be very tight.
Don't forget to feed the Starving Horde! Everyone uses their work surface to serve supper, right? No, wait! Everyone uses their dinning room table for their work surface!
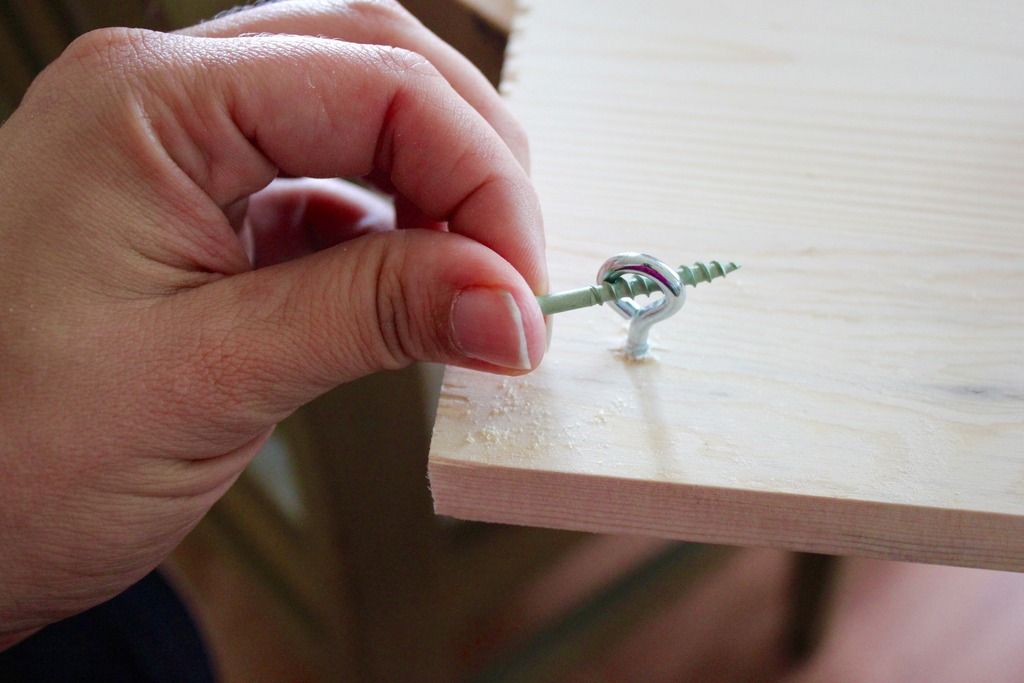
Turn your screw eyes into the holes you just pre-drilled. Use a screw or nail to help turn them in.
Try out your bungie's. You will want them to cross in the middle.
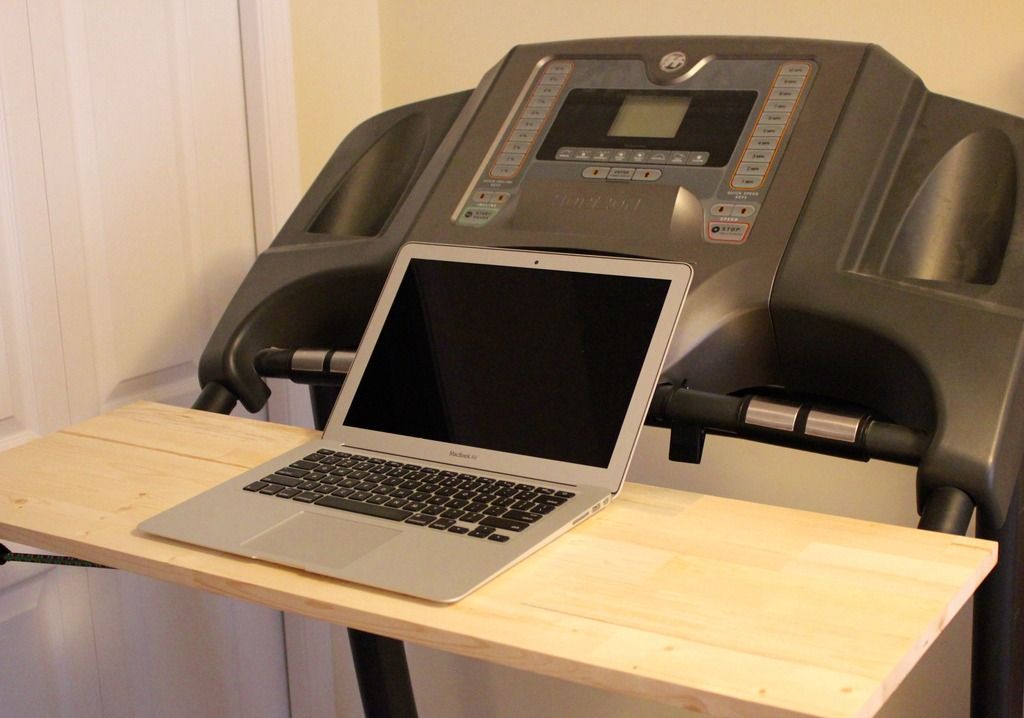
Now put it on your Treadmill. Lovely.
I am going to need to put a book or two under my MacBook Air to raise it a bit for a more comfy typing hight. I'm cool with that.
My plan was to write this while walking on the Treadmill, using my new desk. Yeah, no. I am writing this while sitting on my couch, feet up and drinking a glass of white wine.
-a drill.
- paint or stain if you wanna.
Paint or stain if you are going to.
Find the nicest side of your shelf. That will be the top of your desk. Flip it over and measure one inch down from the top one one inch in from the side. Mark this spot with a pencil. Repeat on the other side, on the top side.
For the bottom end, measure one inch from the side and two inches from the bottom. Make a mark with your pencil and repeat on the other side. You should now have a mark in all four corners.
Don't forget to feed the Starving Horde! Everyone uses their work surface to serve supper, right? No, wait! Everyone uses their dinning room table for their work surface!
Turn your screw eyes into the holes you just pre-drilled. Use a screw or nail to help turn them in.
Try out your bungie's. You will want them to cross in the middle.
Now put it on your Treadmill. Lovely.
I am going to need to put a book or two under my MacBook Air to raise it a bit for a more comfy typing hight. I'm cool with that.
My plan was to write this while walking on the Treadmill, using my new desk. Yeah, no. I am writing this while sitting on my couch, feet up and drinking a glass of white wine.



Comments
Post a Comment